
|
December 2008
|
 |
|
Well! Here we go.The whole Internet thing is totally amazing to me. I have always steered well clear of computers and they still worry me. This is a very new idea to me, so I am sure we will make mistakes along the way. I hope that you will enjoy sharing a little of the making experience with me in my workshop. Week one of making:
|
|
 |
 |
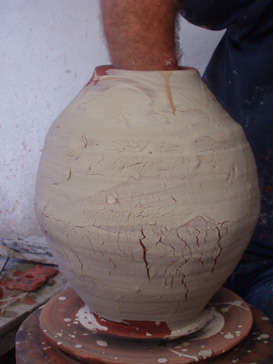
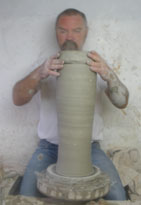
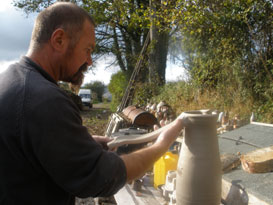
The bright red clay I am using here, comes from the Meeth quarry in North Devon. It's the same place as the well-known Hyplas ball clays come from. Unfortunately, it was closed almost 3 years ago, now. I can't get any more of this lovely clay. The Meeth red is used as dug and is very demanding clay to throw with, as it is full of stones and lots of iron, etcetera.
|
|
 |
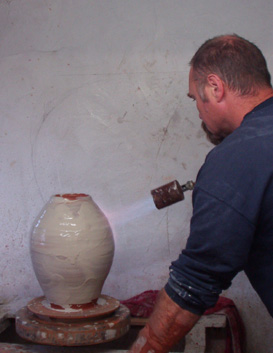 |
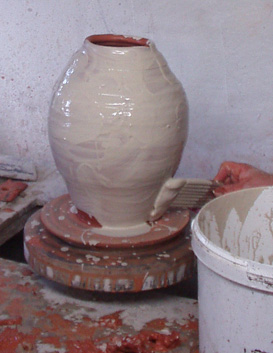
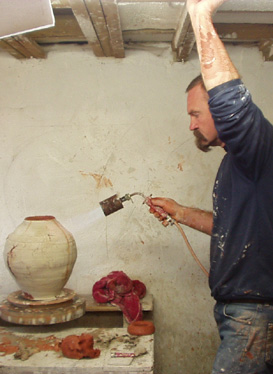
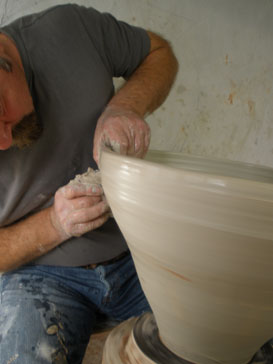
After throwing the main body, I paint a thick white slip and then dry it a little with the gas torch.
|
|
 |
 |
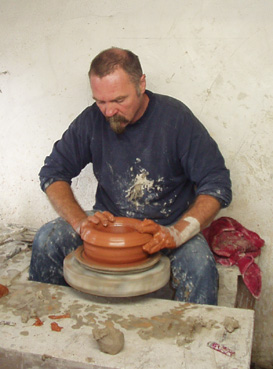
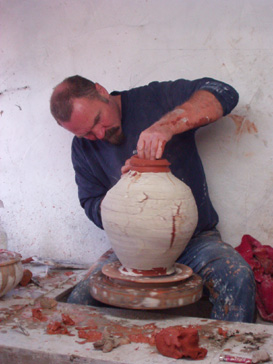
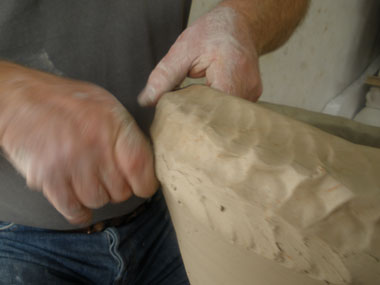
The pot is then shaped with pressure from the inside and because the clay is full of stones, it begins to crack and split. I like to push the pot until it is on the verge of collapse! Then more work with the gas torch. I repair the splits and holes by putting a little clay over the hole on the inside.
|
|
 |
 |
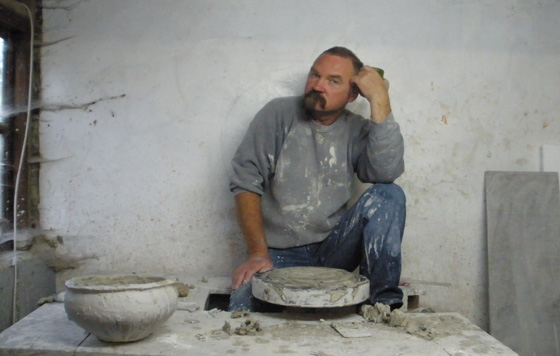
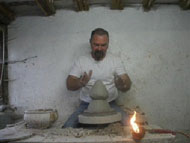
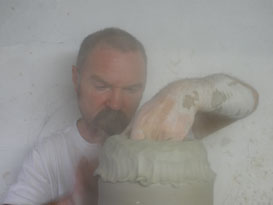
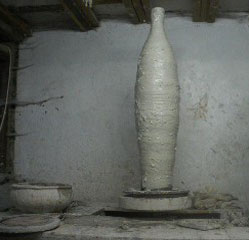
The wood firer's face is almost as red as the clay being used!
|
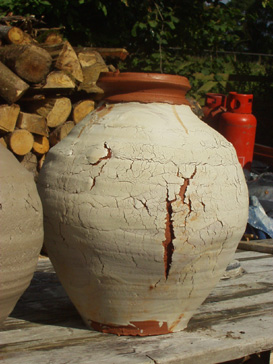
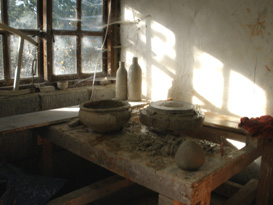
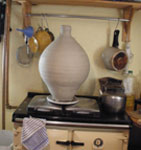
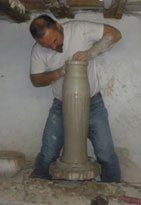
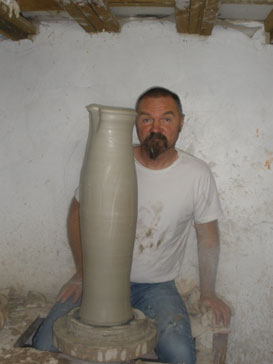
The pot drying in the autumn sunshine. |
 |
 |
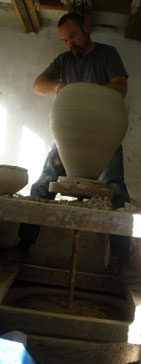
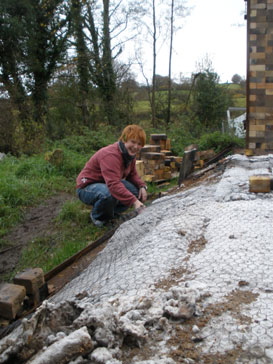
| My wheel | Taking advantage of the rare drying days |
Week two of making: |
| I hope that you enjoy The Clash as much as I do. They are one of my favourite bands to work to at the moment. I am making a jar using a coil throwing technique. |
 |
 |
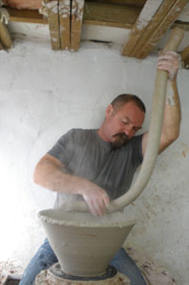
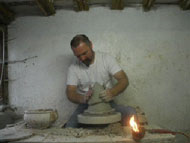
| After the base is thrown it is firmed up using the gas torch. On this picture I am adding some clay to allow a good join with the new coil. | The coil to be added is around10lb of clay . |
 |
 |
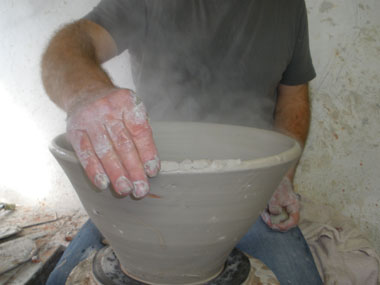
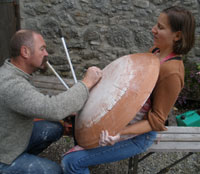
| Feeding on the coil on to the base. | Centering and pinching the coil. |
 |
 |
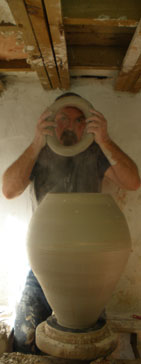 |
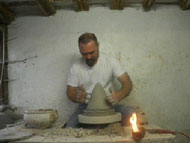
| Throwing the coil into another section of the pot. | Another section. | What a picture! The final coil for the rim. |
 |
 |
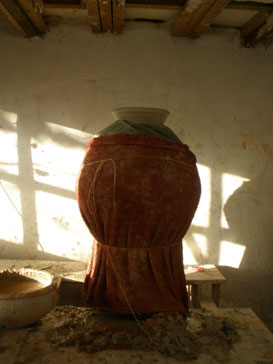
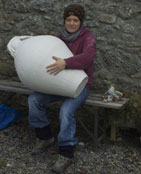
| Very often after throwing, I find that the pot is too centered and round. Because the gas torch has been used, the pot is too dry. In this picture the pot is wrapped in wet towels until it is soft enough to be beaten with a paddle into a softer off centered shape. | |
 |
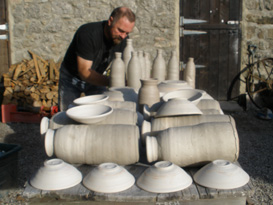
The finished pot with lugs! |
Week three of making: |
|||
Well, another week goes by! I have just fired the kiln for the oxford ceramic show. Life as a potter can be very demanding with many deadlines to meet and a very energetic and absolutely gorgeous three-year-old daughter. |
|||
|
|||
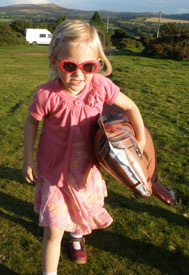
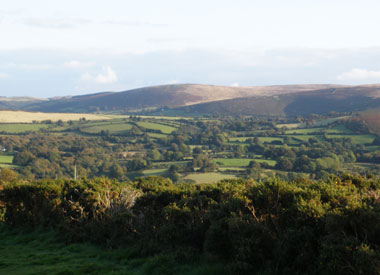
| Family walk with flying horsey. | Dartmoor | ||
 |
 |
||
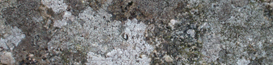
| Lichen and moss on granite. | |||
The firing went very well, although it's always a task to find enough help. Both Svend Bayer and I tend to use the same firing crew. Over the years I have made many good friends whilst firing the kiln. After a while of course they go their own ways, so just as you feel you have the ideal firing crew, they bugger off!!! I really admire these people, who are prepared to sit up half the night and help for free to fire my pots. Good people! |
|||
 |
|||
| The firing crew: Andy, Brian and Nic | |||
I haven't had a great deal of making time this week. So I thought you might like to see a few snap shots of my surroundings: |
|||
 |
 |
||
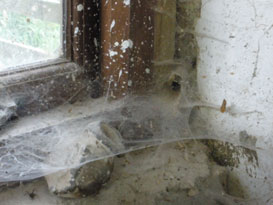
| Incy wincy spider house next to my wheel | Kiln stacking furniture | ||
 |
 |
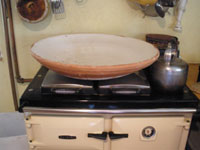 |
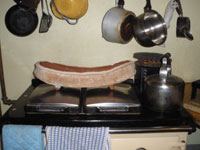
| Pots drying nicely on the Rayburn. | ||
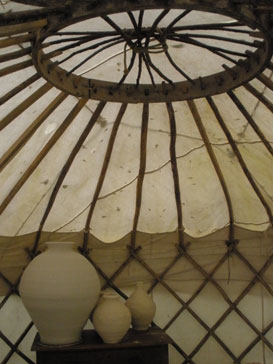 |
| Pots in the yurt. |
Week four of making:
|
||
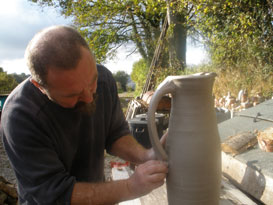
Well, that’s Oxford done. After a frantic week of firing, cooling, unpacking and my favourite job of cleaning the pots. Oxford was very successful. I was very worried with today’s economic doom and gloom. Although I only sold a small number of pots, they were all major works. After Oxford I need a couple of days rest and I have to sort out the mess in the yard after the firing. I am now about to start making again, ready for the online exhibition firing. This week, I hope that you will enjoy seeing my large jug being thrown. |
||
 |
 |
 |
| I start with two 7 lb lumps of clay to throw two thirds of the jug. | ||
|
||
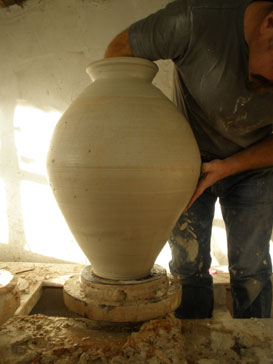
I have found, that the shape of this Baluster jug is extremely difficult to throw because of its height and narrowness. So, the pot is thrown part of the way and then the gas torch is used, to firm up the pot. I, then add a further amount of clay, to throw the rest of the form. |
||
 |
 |
 |
| Fitting "doughnut" about 3lb of clay | Fixing the "doughnut" | Throwing the top |
 |
 |
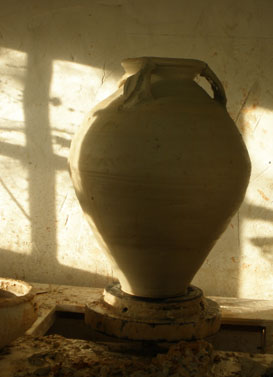
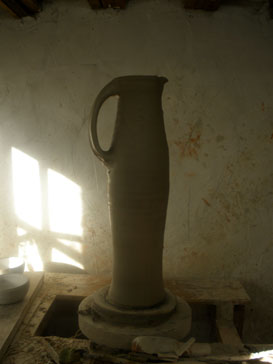
| Pulling the lip and shaping the throat | All thrown! |
 |
 |
| I love handling big jugs! | |
 |
|
I adore this form. It’s such a difficult shape to get right. As a ceramic student at Derby, I had a trip to Nottingham castle museum and because we were ceramic students, we were allowed to handle these absolutely beautiful English medieval pots. |
|
Week five of making:
|
|
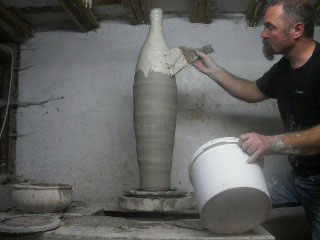
It’s coming towards the end of the making cycle, as next week will be the packing of the kiln. |
|
 |
 |
| Brushing on white slip | Finished pot |
Week six:
|
||
Well, we have arrived at the firing. |
||
 |
 |
 |
| Sabine | Antonia | Queing for signature |
| The Dartmoor pixies load the kiln in one and a half minutes, to some groovy music. It takes me two and a half days! | ||
 |
 |
| All bricked up and ready to go. | Sally-Anne |
 |
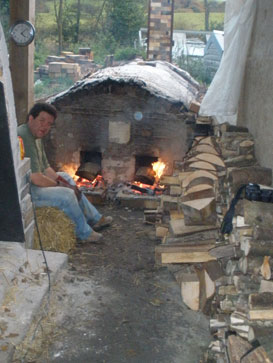 |
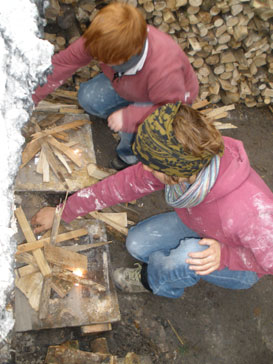
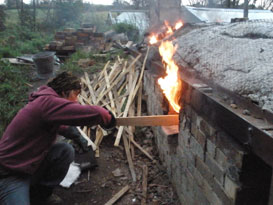
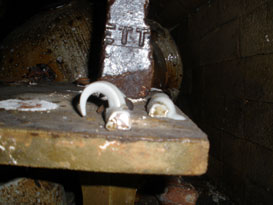
| "Come on baby light my fire." | Cool dude, Andy on first shift. |
Week seven:
|
|
So, a day late on starting the firing. Lucky for me the firing crew was able to stay on another day. As I get a little older I realize how much I am in debt to these people, who are willing to sit up most of the night to stoke the kiln. |
|
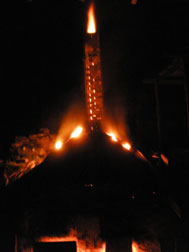
| The videos are of the side stoking sequence to build up embers and ash on the tall bottle placed uder the stoke holes. | |
 |
 |
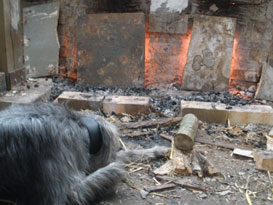
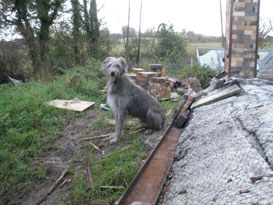
| My kiln Dog | Antonia feeding the fire |
 |
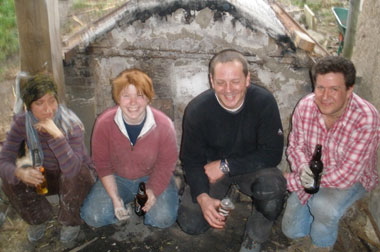 |
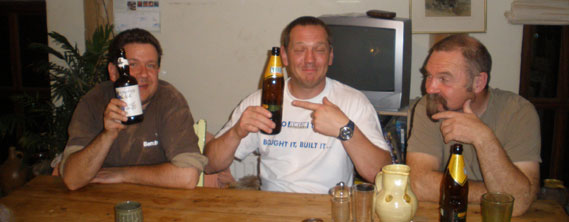
| 4 am day four | Well deserved beer |
 |
|
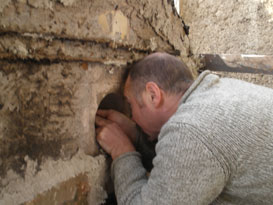
| Sneak preview. Oooooh! | |
Unpacking:
|
|
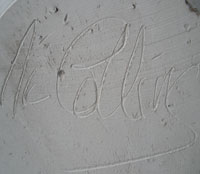
| top |